We use cookies to make your experience better. To comply with the new e-Privacy directive, we need to ask for your consent to set the cookies. Learn more.
How to Use 3M Knifeless Tape for Perfect Vinyl Wraps
Vinyl wrapping has become popular in the automotive sector, allowing vehicle owners to transform the appearance of their vehicles with custom designs and finishes. A perfect vinyl wrap requires precision, patience, a keen eye for detail, and our 3M knifeless tape. Here’s a detailed guide on how to use 3M Knifeless Tape for perfect vinyl wrap.
What is 3M Knifeless Tape?
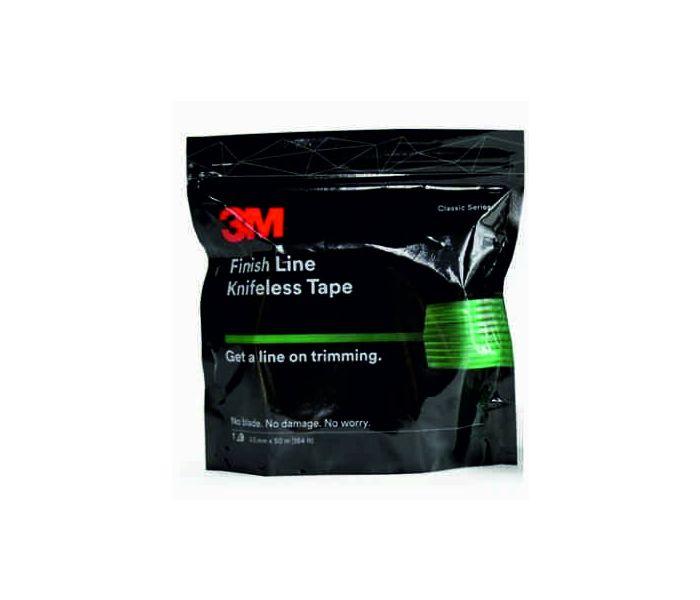
3M knifeless tape is a specialised adhesive tape featuring a built-in filament, designed for precise cutting of vinyl film without the need for a knife. This product is perfect for creating sharp, clean edges and intricate designs, as the tape can be applied directly to the surface where the vinyl will be laid, ensuring cuts are made exactly as planned. Our knifeless tape eliminates the need for blades, significantly reducing the risk of damaging the vehicle’s paint.
Preparing Your Workspace
Before you start, ensure your workspace is clean, well-lit, and free of dust and debris. This will help you achieve a smooth application. Gather all necessary materials:
- 3M knifeless tape
- Vinyl wrap
- Squeegee
- Heat gun
- Microfibre cloth
- Isopropyl alcohol
Step-by-step guide to using 3M Knifeless Tape
- Plan your design: Visualise and plan where you want the vinyl wrap to be cut. This is crucial for achieving a professional-looking result. Sketching out your design beforehand can be very helpful.
- Clean the surface: Begin by thoroughly cleaning the surface of the vehicle with isopropyl alcohol and a microfibre cloth. This removes any contaminants that could interfere with the adhesion of the tape and vinyl.
- Apply the 3M knifeless tape: Carefully apply the knifeless tape along the lines where you want to cut the vinyl. Ensure the tape adheres smoothly without any bubbles or wrinkles. The filament in the tape should be centred along the cutting line.
- Lay the vinyl: Once the tape is in place, lay the vinyl wrap over the area, making sure to leave some excess material around the edges. Use a squeegee to smooth out the vinyl, working from the centre outwards to remove any air bubbles.
- Activate the filament: Once the vinyl is securely in place, locate the end of the knifeless tape. Pull the filament up and out of the tape, then pull it along the length of the tape to cut through the vinyl. This will create a clean, precise edge.
- Remove excess vinyl: Carefully peel away the excess vinyl to reveal the cut edge. If done correctly, the edge should be smooth and aligned with your design.
- Seal the Edges: Use a heat gun to gently warm the edges of the vinyl. This helps to seal the edges and ensures a long-lasting finish. Use the squeegee to press down the edges firmly.
- Final inspection: Inspect your work to ensure there are no imperfections or loose edges. If necessary, make any minor adjustments to achieve a perfect finish.
By following our guide, you can achieve clean, precise cuts and intricate designs without the risk of damaging your vehicle’s paint. With a bit of practice and patience, you’ll be able to create stunning, custom wraps that turn heads and showcase your skills.
If you have any questions, please contact us on 01706 633043 or drop us an e-mail at sales@apptape.co.uk and a member of our team will get back to you.

